
Resolve the source
Identify where the water entered and arrange appropriate plumbing or roofing repairs. A dry-looking stain does not establish that a leak has stopped.
From the first sign of a leak to a carefully planned ceiling finish. Understand the damage, the repair sequence and what your estimate includes.
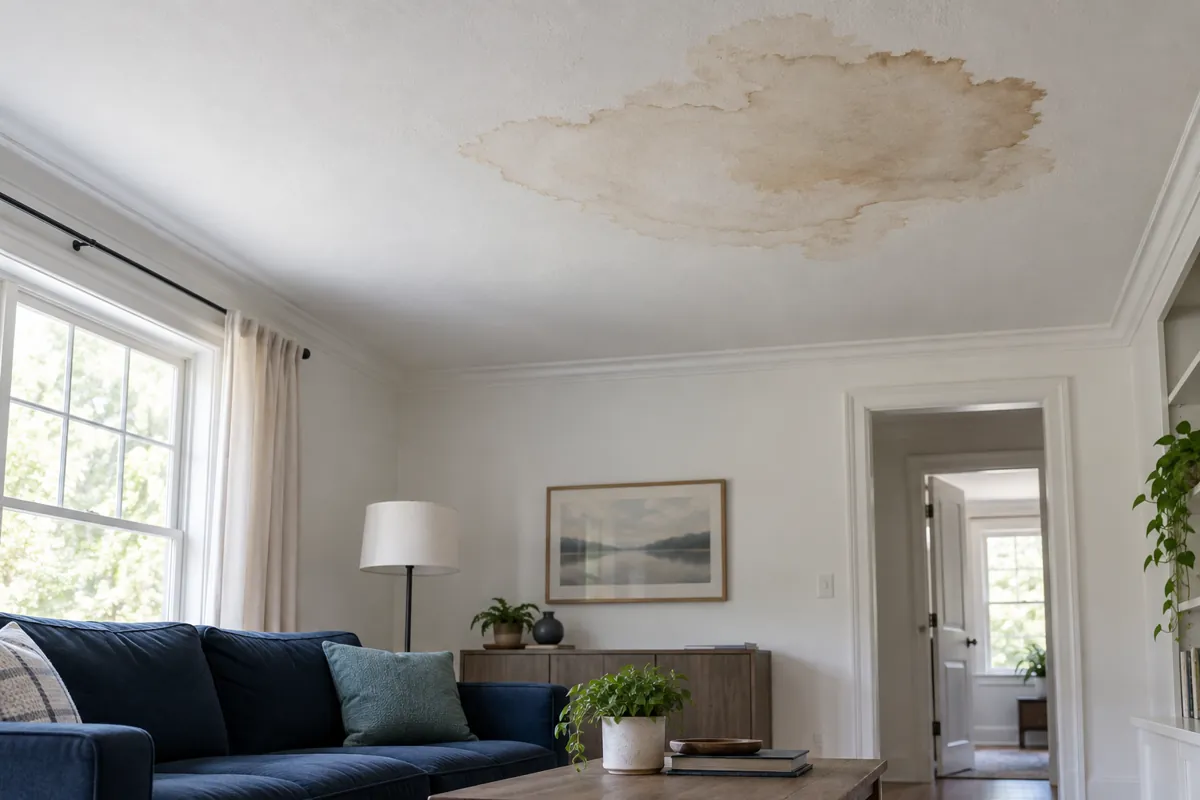
Ceiling water damage repair begins with identifying and resolving the water source, then assessing the affected materials. Drying or replacement may be needed before taping, texture, primer and paint. The right scope depends on whether the leak is active, what is wet and how the board has changed. A clear assessment helps separate source repairs from the ceiling work and makes it easier to understand the estimate.
Track when it appears and whether it changes after rain or plumbing use.
02Surface damage may accompany changes in the drywall underneath.
03Keep clear of unstable materials and arrange a suitable assessment.
04Source control and safety come before cosmetic finishing.
Keep people away from sagging materials and wet electrical fixtures. Stop the water source only if you can do so safely. Seek appropriate urgent help for an immediate hazard. Email inquiries are not emergency dispatch.
Active drips, recurring marks and damage from a leak above.
Explore the serviceSERVICEDamaged board, seams and insulation, with a defined repair scope.
Explore the serviceSERVICECheck hidden moisture before the ceiling is closed and finished.
Explore the serviceSERVICEWater removal for larger losses affecting ceilings and floors.
Explore the serviceSERVICEPlan texture blending, primer, paint sheen and repainting boundaries.
Explore the serviceChoose the page that fits the condition of your ceiling. If water has reached the floor, extraction and structural drying may be part of the same loss. If the source has been repaired and the area is dry, the remaining work may focus on damaged board, texture and painting. Explain any work already completed when requesting an assessment.
Identify where the water entered and arrange appropriate plumbing or roofing repairs. A dry-looking stain does not establish that a leak has stopped.
Check the ceiling, nearby walls and accessible cavity for affected drywall, insulation and framing. The visible mark may be smaller than the wet area.
Plan drying and moisture checks for materials that can remain. Drying time depends on the assembly and the extent of the loss.
Remove unsalvageable material where needed and define the replacement, fastening and joint work before rebuilding.
Compare the existing finish and agree on blending and painting boundaries. Paint sheen and lighting affect the appearance.
Review the agreed work, cleanup and any remaining responsibilities, including separate source repairs.
A useful estimate separates assessment, drying, material replacement and finishing. It also explains who is responsible for the leak source. Plumbing or roof repairs may require a separate specialist; those costs should not be confused with repairing the ceiling below. Ask what is included before comparing two prices.
Ceiling height, access, wet insulation, disposal, furniture protection and the painting boundary can all change the scope. A low patch price may exclude primer or repainting. A larger estimate may include drying and reconstruction. Compare the same work, not just the final total.
A repaired ceiling needs more than a filled opening. Existing texture can vary across the room, and fresh paint may look different from older paint even when the color name is the same. Side lighting can reveal edges that are less visible from directly below.
Discuss the existing texture, primer and sheen before work begins. Sometimes blending a patch is suitable; sometimes painting a wider section or the whole ceiling creates a more consistent result. Establish that boundary in the estimate rather than discovering it at the end.
This website focuses on ceiling water damage repair inquiries for Herriman, Utah. Include your neighborhood or ZIP and the affected room when you contact us. An exact property location helps establish access and the proposed work; no walk-in office is listed.
The service-area guide brings together Rosecrest, Herriman Towne Center, Butterfield Canyon, Blackridge and Juniper Crest. The repair sequence is driven by the condition of your ceiling, not assumptions about a neighborhood’s homes.
Understand the next step before choosing a repair scope.
Understand the next step before choosing a repair scope.
Understand the next step before choosing a repair scope.
If you are unsure what to include in your inquiry, describe what you can observe without disturbing the ceiling: the room, approximate size of the mark, whether it feels like an active problem, and any source repairs already completed. You do not need to diagnose the leak yourself.
Yes. A small visible mark can come from moisture above the ceiling. Confirm the source and material condition before deciding on a cosmetic repair.
No single rule applies to every ceiling. Condition, contamination, loss of strength and access to wet materials affect whether sections can remain.
The existing texture, age, paint and lighting affect the result. Agree on a sample or matching approach and the painting boundary before work starts.
Coverage depends on the policy, cause and circumstances. Your insurer decides coverage; an estimate or photo record is not an approval.
The schedule depends on source repairs, drying, material replacement and drying between finishing coats. Request a sequence and realistic appointment window.
Email seomik9@gmail.com with your ZIP, affected room, when the damage appeared and whether the leak is active. Photos can be attached to your email. The phone line is currently coming soon.
Share the room, leak status and work already completed. We can discuss the assessment and proposed scope.
Call (385) 337-3696